Summary
- Auto fitting before production is important in ensuring that garments are ready to go.
- It allows pattern makers to test their developments in 3D, simulating how the fabric will behave.
- Experience the future of the fashion industry with Audaces360 solutions. Sign up for your free trial today!
Auto fitting is a strategy that helps identify potential issues early on in the garment production process. It has the power to reduce costly mistakes and improve fit.
You can visualize the final product and adjust the patterns without physical samples. This makes the entire manufacturing more efficient.
In this guide, we will walk you through the steps of creating these simulations. By the end, you will have a solid understanding of how to apply auto fitting in your work.
Happy reading!
Sumário
What is the importance of auto fitting before production?
Auto fitting before production is essential for testing a garment’s fit without making a physical sample.
It helps pattern makers and manufacturers spot potential issues early in the process. This allows them to adjust the patterns before investing in actual fabric or production time.
Early corrections can save money and time, reducing the risk of costly mistakes.
By simulating the garment in 3D, you can see how the fabric will behave, how it will stretch, and how the patterns will align. It’s easier to predict the final look and feel of the product.
It also helps ensure that the garment fits properly, improving quality. When you test patterns digitally, you can refine them quickly, leading to a smoother production process.
Moreover, auto fitting helps improve collaboration. Teams can share 3D simulations of garments, allowing for easy communication and feedback.
This is particularly valuable when working with remote teams or different departments.
Learn more: Why simulate the 3D fit of garments before production?
How to automatically simulate garments?
To automatically simulate garments, you need the right software and tools. They will help you test and refine your designs before production.
The process is simple, and it makes creating garments much faster and more efficient.
1) Choose the simulation software
The first step in simulating garments is selecting the right software. There are various options available, depending on your needs and budget.
Popular software includes programs like Audaces Pattern and Audaces 3D. These solutions are specific for pattern making and simulation. They can handle complex developments and fabric types.
When choosing software, it’s important to consider what features you need. Select a solution that meets your specific design and production goals.
Many programs offer trial versions, so you can test them before committing to a purchase.
2) Select the avatar
After choosing your simulation software, the next step is to select the avatar. The avatar represents the body shape and size that the garment will fit.
Choosing the right avatar is important because it helps you visualize how the garment will look on a real person.
Simulation software typically offers different avatar options. Some programs allow you to create a custom avatar based on specific measurements.
This will give you a more accurate idea of how the garment will fit in real life.
Learn more: Here’s why you need an avatar library to create your designs
3) Load or create the pattern
Now that you’ve selected your avatar, the next step is to load or create your pattern.
Patterns are the blueprints for your garments. They are what the software uses to generate the 3D simulation.
You can either import existing patterns or create new ones within the software.
When creating a new pattern, make sure to include all the necessary components. This will ensure that the garment fits correctly in the simulation.
4) Position the patterns
The next step is to position the patterns on the avatar. In the simulation software, you will move and adjust the pattern pieces to fit the avatar’s body.
This step helps to see how the garment’s parts will come together in the final product.
Start by positioning the major pieces, such as the front, back, and sleeves. These pieces should align with the avatar’s body in a natural way.
After that, you can add smaller details, such as pockets, zippers, and buttons. Pay attention to how the fabric drapes and fits across different body areas.
Learn more: 5 key cut lines every pattern maker should know
5) Virtually sew the pieces together
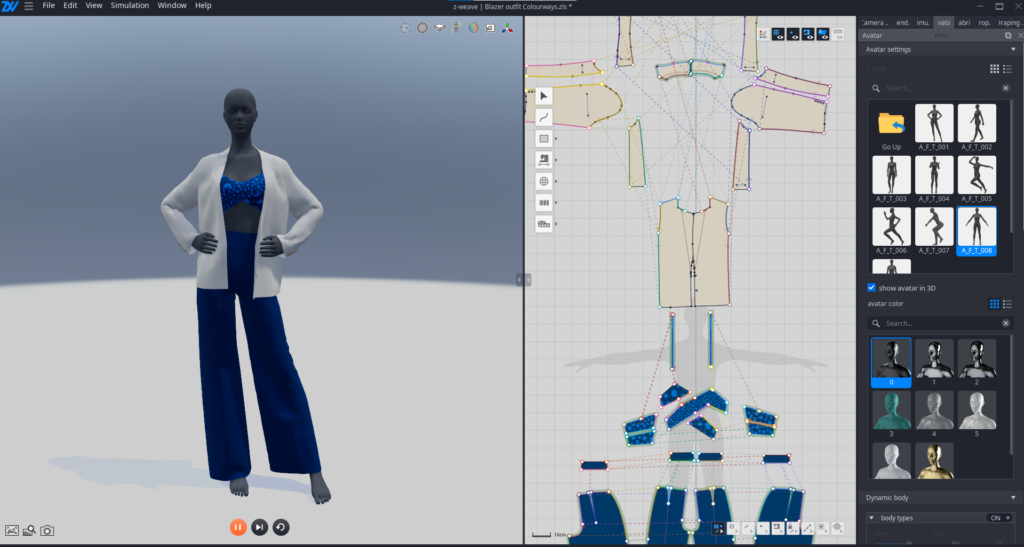
Now, it’s time to virtually test the pieces together. This step mimics the process of sewing the fabric pieces, which is essential for testing how the garment will come together.
Virtual sewing allows you to see if there are any issues with the construction of the garment. In most simulation software, you can virtually test the pieces by selecting the appropriate seams.
The software will then simulate how the pieces will connect. Check for any issues such as misaligned seams or puckering. They can affect the garment’s final fit and appearance.
This step also helps you test the garment’s structure. You can see if the garment holds its shape and if the fit changes when put together.
Learn more: 5 reasons why pattern makers should start using 3D pattern
6) Simulate automatically
In this step, the software will simulate how the garment behaves on the avatar. The program will consider the fabric’s properties and how it interacts with the body.
Auto fitting uses algorithms to predict how the garment will fit and move. It simulates the garment in different poses and movements to give you an accurate picture of its performance.
This is a key step in checking if the garment will work well in real-world scenarios.
By simulating the garment automatically, you can see any issues that may arise, like tight spots or excess fabric.
Learn more: Discover 5 major benefits of 3D simulation for fashion
7) Adjust, if necessary
After running the simulation, you may need to adjust the garment. This step is crucial for fine-tuning the fit and ensuring the garment performs well in different conditions.
If you notice any issues during the simulation, such as areas of tightness or discomfort, make the necessary changes.
The software allows you to modify the patterns easily and re-run the simulation. You can adjust the size, shape, or positioning of the pattern pieces to improve the garment’s fit.
Don’t hesitate to make small changes until the garment fits perfectly on the avatar.
Sometimes, changes are necessary to ensure the garment works well in motion. Test the garment in different poses and activities to see how it behaves. Make sure it fits comfortably and looks good from all angles.
Simplify your work with new technology. Our free guide shows you how! Download now and streamline your processes.
Benefits of applying auto fitting to your garments
Auto fitting allows you to test and refine your garment designs digitally. This process leads to better-fitting products and reduces costly mistakes during production.
Discover all the benefits:
Reduced production errors
Technology helps identify fit issues before production begins. By simulating how the garment fits in 3D, pattern makers can catch errors early.
This reduces the chances of mistakes when the garment goes into production.
With the help of auto fitting, you can adjust the design digitally. Correct any areas where the garment may be too tight or too loose. These corrections help create a better-fitting garment.
By spotting these issues before production, companies can avoid wasting materials. You will prevent delays in launches and reduce the risk of errors.
Savings in time and materials
Auto fitting helps save time by reducing the need for physical samples. Instead of waiting for samples to be ready, you can test and adjust garments digitally.
This speeds up the development process and allows for quicker iterations.
The simulation also reduces material waste. When you test the garment digitally, there is no need to cut or sew actual fabric for every sample.
It’s not only cost-effective, but also helps the environment by minimizing waste.
Simulation of gravity on the garment
One important benefit is that you can simulate how gravity will affect the garment. This is important because fabric behaves differently when it’s in motion.
The simulation shows how the garment will fall and drape on the body. You can predict how different materials will look.
For example, heavy fabrics may hang differently than lightweight ones. Auto fitting ensures the final garment behaves as expected.
Learn more: Create a spiral pattern in 4 easy steps using your computer
Digital approval
Digital approval allows stakeholders to review and approve designs before production. Instead of relying on physical samples, they can see the garment in 3D and provide feedback. It speeds up the approval process.
With auto fitting, designers can make quick adjustments based on feedback. The digital format allows for easy sharing and collaboration between teams.
This makes it easier to refine designs and ensure that everyone is on the same page. It also means that production can start sooner.
Achieve perfect garment auto fitting with Audaces solutions
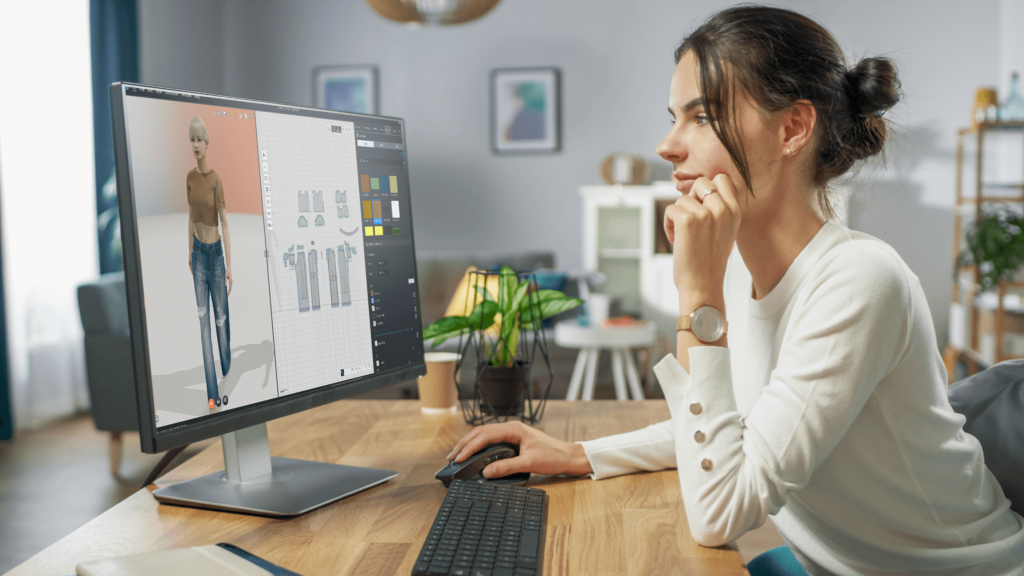
Audaces Pattern
Audaces Pattern is the ideal solution for creating any type of digital pattern. It allows for new developments with intuitive tools that help you avoid mistakes.
Create your patterns with high quality and precision. Ensure the correct creation of all sizes, regardless of the level of complexity and number of details.
Refine every detail to perfection, ensuring that your creative vision translates into patterns.
Audaces 3D
Audaces 3D allows you to test your patterns before committing to a physical sample. Save time and resources by identifying issues early in the process.
With a range of tools, the software transforms the development process with its auto fitting capabilities.
It enables you to shape your ideas directly in a digital space, gaining agility and quality in deliveries.
Discover Audaces360 and unlock a world of possibilities for pattern development. Explore our comprehensive suite of solutions today!
FAQ
Auto fitting before production is essential for testing a garment’s fit without making a physical sample.
Choose the simulation software, select the avatar, load or create the pattern, position the patterns, virtually sew the pieces together, simulate automatically, and adjust necessary.
Reduced production errors, savings in time and materials, simulation of gravity on the garment, and digital approval.


