Summary
- Pattern making is crucial for all apparel manufacturing. It’s the process of turning a fashion designer’s vision into production-ready patterns.
- A key step within this is grading, which involves adapting the base pattern for different sizes. It must be flawless, or you risk compromising the entire production.
- Experience the future of the fashion industry with Audaces360. Start your free trial now!
If you work with patterns, you’ve probably heard the word grading. It’s a key part of the production process. But do you really know what it means? And most important: how to do it easily?
Grading helps you create different sizes from a single base pattern. It might sound complex, but with the right method, it can be fast and simple. Especially if you’re using digital tools.
This article is here to help. Whether you’re new to grading or want to improve your process, you’ll find everything you need.
Curious? Let’s get started!
Sumário
Why is it important to learn about pattern grading?
Understanding what grading is helps you create different sizes from a single base pattern. Without grading, it would be hard to produce clothing that fits well across all sizes.
It allows brands to offer more size options and reach more customers. This means more sales and a better brand reputation.
A properly graded pattern keeps proportions balanced. It ensures that all sizes fit the way they should. This consistency helps reduce returns and improves customer satisfaction.
When you know how grading works, you can avoid common mistakes. You’ll save time, avoid stress, and improve quality. That’s why it’s worth learning and applying in your daily work as a pattern maker.
Learn more: What is the best way to create a pattern of clothing?


What is grading for clothing patterns?
Grading is the process of resizing a pattern. It takes your base size and transforms it into smaller or larger sizes. The goal is to keep the original shape and design across all sizes.
In fashion, it’s not just about making something bigger or smaller. Each size must grow in the right areas. That’s where grading becomes technical and important.
A grading system helps you organize these size changes. It tells you how much to add or remove in each part of the pattern. This system keeps things clear and consistent.
You have the option to grade your patterns by hand or using digital methods. Just be aware that digital tools tend to be quicker and more precise.
Ultimately, understanding what grading is will help you achieve well-fitting clothes, no matter your method.
Learn more: Explore the main types of patterns for fashion manufacturing
Main benefits of digital pattern grading
There are many benefits to using digital grading tools. They allow pattern makers to work with greater accuracy, speed, and ease.
Here are the key advantages:
Fewer errors
Digital grading reduces mistakes. That’s because the system follows rules that are always the same. You don’t have to guess or do the math by hand.
When grading manually, it’s easy to miss a line or enter the wrong measurement. Even a small error can affect the final fit. And fixing mistakes takes time and effort.
With digital tools, the software helps guide your steps. You can set the right values once and apply them across all sizes. Everything stays consistent.
Learn more: Why is a grading tool essential in efficient software?
Saves time and money
Digital grading helps you work faster. That means you can create more patterns in less time. And that means saving money too.
You also avoid spending time on corrections. Since the system helps you get it right the first time, you are less likely to make mistakes. This reduces the quantity of potential rework.
Time saved in grading also speeds up other steps. You can move faster from design to cutting and sewing.
In short, fewer mistakes mean fewer losses and better results for fashion businesses.
Fast and easy process

Grading patterns manually can easily take hours. It involves calculating and applying all the size variations yourself. This process also carries the risk of errors, which would mean having to start from scratch.
With digital tools, it’s much faster. The software automates most of the work.
You don’t need to draw or calculate each size manually. You just set the rules, and the system does the rest, making the process smooth and efficient.
Most tools are made specially for pattern makers. That means they are simple to use and fit your needs. In other words: you don’t have to be a tech expert.
In the end, you get the same or better results in a lot less time, even if you’re new to grading.
Learn more: Master the use of industrial patterns in apparel production
Access to pattern history
With digital grading, you can track every change. You always know what has changed and when. This is useful when you work in teams or return to a project later.
If something goes wrong, it’s easy to find where it started. You can go back, review the steps, and fix the problem quickly.
You’re never left wondering which version is the most recent, as the system stores everything in one place.
Having access to pattern history gives you more control and confidence in your work.
Centralized information
Digital systems keep all your data in one place. This means you don’t need paper files or scattered documents. Every pattern, rule, and change is saved together.
It’s easier to stay organized and focused. No more searching for the latest version or missing details—everything is right there, ready to use.
Ready to go digital? Discover how Audaces can help you make it happen! Download our free guide now.
How to grade patterns in just a few clicks?
Now you know what is grading, it’s important to keep in mind it doesn’t have to be hard or take hours. With digital tools, it becomes much easier.
Intelligent systems let you grade patterns in just a few clicks. All you have to do is follow these clear steps and the system takes care of the rest.
1) Define your grading plan
First, you need to establish your grading plan. This means entering the grading rules into the software. You can get the measurements for each size, which you’ll need for this, from the tech pack.
You don’t need to calculate anything by hand, just input the values. The system will apply them across all sizes.
It knows exactly how to grade based on the rules you gave, saving time and ensures accuracy.
Once the plan is ready, you’re able to move to the next step.
Learn more: Discover the benefits of a pattern grading chart for your clothing production
2) Add or remove points
Sometimes, you need to adjust points on the pattern. That could mean adding new ones or taking some out. It depends on the type of grading you need.
This step helps keep your grading precise and balanced.
Regular grading
Regular grading means you’ll apply the same rule for each size step. For example, adding the same width between every size.
It’s common in many garments, it’s simple and keeps the design shape. The system applies the rule evenly across all sizes, you only need to set it once.
This type of grading helps you move fast and avoid mistakes. However, it might not be sufficient for more complex design requirements.
Irregular grading
Irregular grading means the steps between sizes are not the same. Some sizes may grow more in one area than others.
This is useful when the fit needs to change in a special way. It gives more control over each size.
The system lets you set different values for each size jump. This way, the fit stays right for all body types.
It’s more flexible but still easy to manage digitally.
Learn more: Learn how to adjust patterns for fabrics that shrink
3) Remove or adjust the finished grading
Following grading, you might need to make revisions. The system enables swift removal of grading or adjustment of values. Simply click on the desired points to implement your changes.
This offers the flexibility to correct or refine your work quickly, a considerable improvement over manual methods. You retain full control without the need to restart.
How to scale a pattern from size S to M?
Let’s say you have a base pattern in size S, a very common starting point for women’s clothing. Now you want to create the same pattern in size M. This is where grading comes in!
First, define the grading rule for S to M. You’ll usually find this in the size chart or tech pack.
Then, enter this rule into the system and the software will automatically apply the change.
You’ll see the new size appear, with all lines and points correctly placed. The best part is you didn’t need to redraw anything. With a few clicks, your size M pattern is accurate and ready to go.
Grade your patterns digitally with Audaces Pattern
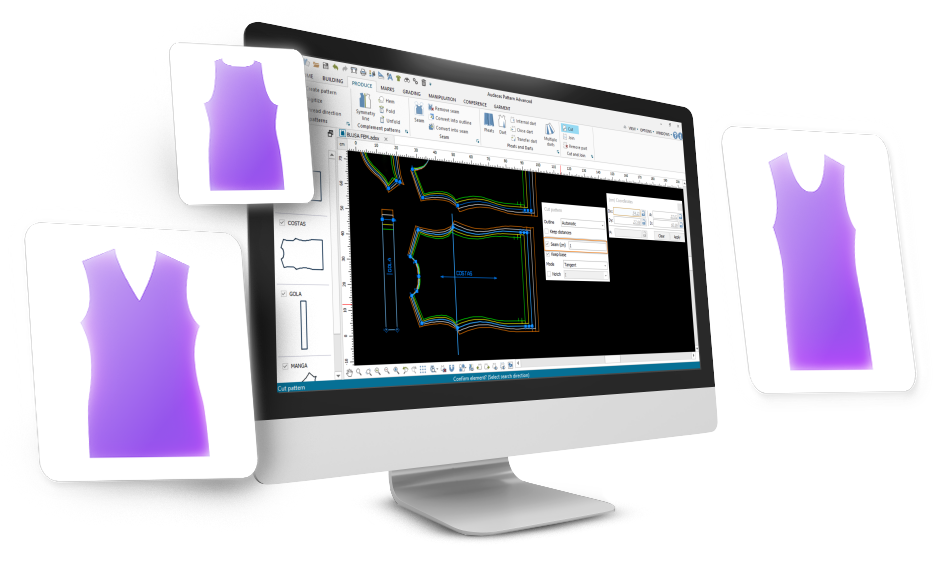
For pattern makers looking for excellence, Audaces Pattern is the perfect solution. It ensures the pattern design reaches a new level of efficiency and precision.
With its versatile approach, it’s possible to develop high-quality patterns, regardless of complexity.
Refine every detail to perfection, ensuring that your creative vision translates into patterns. This advanced solution will assist you with all your pattern making endeavors!
Discover Audaces360 and unlock a world of possibilities for fashion design and production. Explore our comprehensive suite of solutions today!
FAQ
Understanding what grading is helps you create different sizes from a single base pattern. Without grading, it would be hard to produce clothing that fits well across all sizes.
Grading is the process of resizing a pattern. It takes your base size and transforms it into smaller or larger sizes. The goal is to keep the original shape and design across all sizes.
Fewer errors, saves time and money, fast and easy process, and centralized information.