Summary
- Sewing darts are folded pleats sewn into the fabric’s back, serving to taper and effectively eliminate gaps in a garment
- They can be placed throughout a design, sometimes cleverly concealed within cutouts
- Explore the complete management of each production stage with Audaces360’s multi-solution suite. Get the free trial now!
When talking about patternmaking, the focus shifts to body types and biotypes. Sewing darts assume a pivotal role for those aspiring to craft high-quality garments that boast an impeccable fit.
Dispelling the notion that darts merely cinch excess fabric, their application extends far beyond resizing overly broad pieces.
They find utility right from the outset of conceiving a fresh collection, rectifying the contours of models shaped from flat fabrics.
If you are seeking deeper insights into this subject, Audaces has curated an informative guide on sewing darts.
Sumário
Read on to find out more!
What are sewing darts?
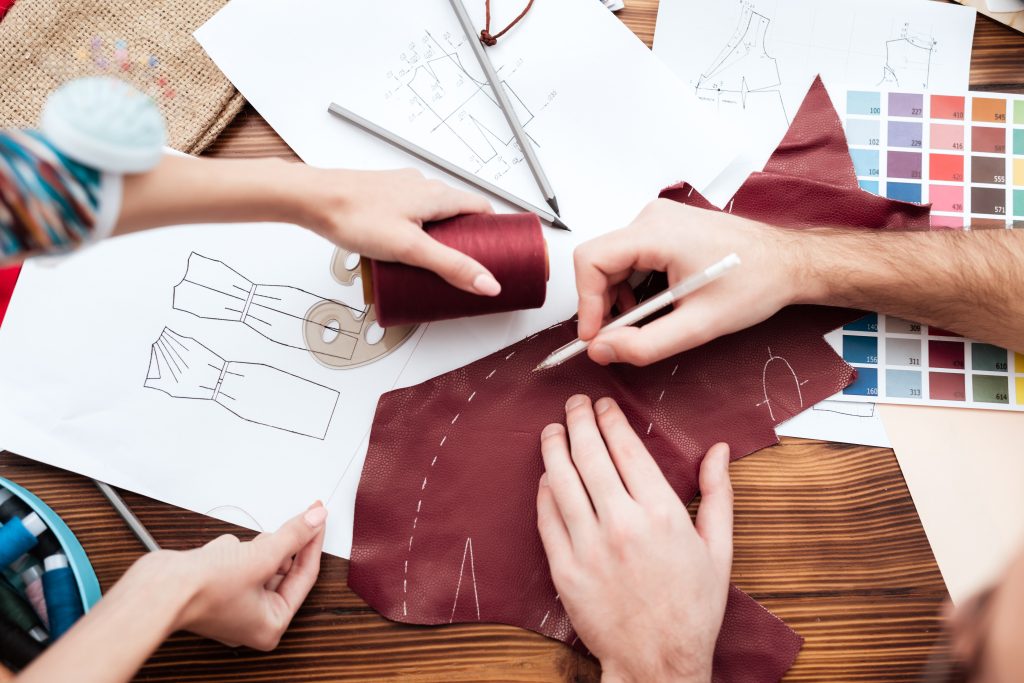
Sewing darts can be defined as irregular folds found on the inner side of fabric, incorporated within seams that taper until they vanish, strategically employed to eliminate gaps within a garment.
In essence, they enable the fine-tuning of clothing to match one’s body contours, aligning the garment with measurement standards.
When it comes to patternmaking for a snug fit, particularly when using flat fabric, darts become a crucial consideration due to their ability to harmonize with the human body’s anatomy.
However, when dealing with larger pieces or those crafted from knitted fabrics, the necessity for darts diminishes.
Strategically placed, a well-executed dart imparts a seamless appearance to the garment on the body, ensuring alignment with the silhouette and an optimal fit.
Darts can be strategically positioned at various locations within a piece, and they can also ingeniously blend into cutouts, as modern clothing designs may not always adhere to the traditional dart placement.
Learn more: Uncover the fabric composition chart and the most utilized types
The significance of sewing darts in apparel production

Sewing darts hold a pivotal role in the construction of garments, as they wield a direct impact on the fit and graceful draping of a piece.
Because of that, it becomes imperative to execute precise notching during the patternmaking process.
By doing so, the alignment of dart seams can be ensured, ultimately resulting in the creation of top-notch garments that meet the expectations of your discerning customers.
What are the key varieties of swing darts?
In the realm of sewing darts, diverse types emerge, with the most classic being the vertical, horizontal, and shoulder darts, also recognized as back darts.
To adeptly incorporate these elements into your collection, let’s delve into the specifics of each type:
Vertical dart
A vertical dart serves to diminish excess room around the bust while also accentuating the depth of the waist dart within the seam.
Horizontal dart
The horizontal dart facilitates the redistribution and reduction of fabric at the waist, effectively enhancing the depth of the bust dart.
Learn more: Discover the benefits of digital sewing patterns and how they work

Shoulder dart
Shoulder darts shape the curvature of the shoulders, ensuring a harmonious fit of the garment across this area of the body.
V-shaped dart
The V-shaped dart originates from the center of the waist and extends to the apex of the bust. Crafting this dart style involves merging two fundamental darts: the vertical and the horizontal.
Learn more: Discover the benefits of a pattern grading chart for your clothing production
Waistline dart
Implementing a dart at the waistline necessitates introducing an additional dart at the base. However, achieving this requires sacrificing one of the traditional darts in terms of depth.
Dior dart
The Dior dart initiates from the waist’s side and extends towards the bust’s apex. Much like the V-shaped dart, creating the Dior dart involves integrating both the vertical and horizontal darts.
Learn more: Learn when to use each modeling technique and how to choose them wisely
Concealed dart
The concealed dart is sewn within the garment, remaining hidden from view while still enabling the sculpting of the body’s contours.
Learn more: Find out how to use the chromatic circle to boost your fashion collection
Why darts are important in patternmaking?
Darts, whether integrated into the pattern design or during the sewing process, hold the pivotal role of refining garments to better conform to the body’s contours, accentuating the uniqueness of each one’s physique.
When you strategically implement darts within your seams, you’re effectively introducing curves to your creations.
Beyond achieving a superior fit, this technique imbues your collection with added value and an enhanced level of quality.
Learn more: Learn how to incorporate digital patterns into your production
Biotypes and curves
Within the realm of diverse body types, a common thread lies in the presence of curves, such as those adorning the shoulders, waist, hips, and buttocks. Contrarily, fabrics often commence as straight and unyielding sheets.
In the absence of darts, a fabric’s transformation into a clothing piece can result in an unaltered and unflattering linear fit, failing to conform to the contours of the body.
This mismatch detracts from the garment’s appeal when worn, rendering it unsuitable for any body type and subsequently devaluing its overall design.
Enhancing confidence through well-fitted attire
Our affinity for a garment extends beyond its aesthetics; a perfect fit is also anticipated. Even if an article is visually appealing, its inability to accentuate the body’s form renders it destined for oblivion, doesn’t it?
The reason behind this lies in the profound impact that proper clothing fit has on an individual’s self-esteem. Remarkably, this sensation is closely linked to the garment’s design rather than the person’s inherent physique.
Consequently, a mindful approach to patternmaking is imperative, considering not only the diverse curves and contours but also the ideal fit that collectively enhances the wearer’s silhouette.
How to incorporate sewing darts into patterns?
When the intention is to introduce sewing darts into your pattern, whether it’s in a physical or digital format, precision measurements prove invaluable.
Equipped with these measurements, the next step involves the implementation of darts. A dart takes the form of a triangular-shaped fold, achieved by carefully pinching and securing the excess fabric with your fingers – a portion that remains untouched by the scissors.
Typically, darts find their place on pattern sections like the shoulders, waist, bust, and hips, as these areas correspond to the body’s most pronounced curves.
If unraveling the art of applying darts intrigues you, explore the details below:
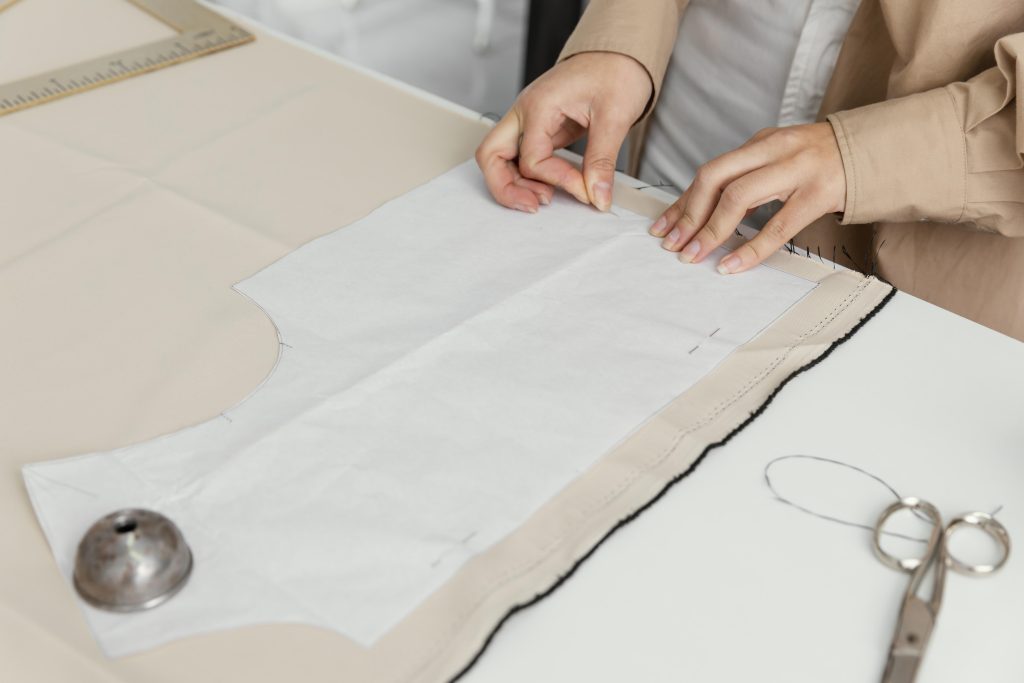
Manual patterns
Initiating the process, commence by sketching the pattern block for your specific piece. Locate the midpoint of the area where the dart will be formed and delineate a vertical line.
Subsequently, cut along this line and unfold the piece, bearing in mind that the extent of the unfolding corresponds to the size of the intended dart.
Next, construct an arc with a height equal to the specified dart measurement.
Employ a compass or measuring tape for this task. Anchor one end of your dart at a fixed point while adjusting the other end to the designated value.
Mark a point at half the distance of the piece’s width, aligned against the curvature established in the preceding step.
Following this, close the dart. With these actions, the dart’s configuration will be complete.
However, a word of caution is essential.
Any missteps in this procedure can potentially cascade into errors throughout your piece. Hence, approach each step with unwavering dedication and meticulous focus.
Digital patterns
Just as with manual patterns, digital pattern creation demands meticulous attention to detail to ensure the realization of your initial vision. Nevertheless, the digital realm offers the advantage of swifter and more efficient dart integration.
Numerous software options are available to expedite your garment production process, enabling the swift delivery of collections.
Creating darts within software involves a two-dimensional design of your piece. With the assistance of a dedicated dart tool, you configure the precise locations for their application.
Subsequent to assembling your digital garment, a significant advantage emerges – the ability to conduct fitting tests in a three-dimensional virtual environment. This empowers you to fine-tune your creation before it takes tangible form.
Learn more: Discover the benefits of digital sewing patterns and how they work
Create flawless sewing darts with Audaces360

Unlock the potential of perfect sewing darts through the utilization of Audaces360 – a comprehensive software suite that empowers you to meticulously shape every garment within your collection.
Within this encompassing ecosystem, Audaces aids you in surmounting the core challenges of the industry, thus catalyzing the triumph of your enterprise.
Through its innovative technology, Audaces has engineered a solution that yields enhanced efficiency, optimal time management, and streamlined delivery processes, epitomizing the ultimate fusion of practicality and agility.
Audaces Pattern
The user-friendly interface of Audaces Pattern makes it an invaluable asset for anyone aiming to streamline collection production.
Within this software lies a specialized tool designed to simplify dart creation.
Leveraging its swift, efficient, and cost-effective technology, it facilitates the crafting of digital patterns at a remarkable speed, up to 70% faster than manual methods.
Moreover, Audaces Pattern equips you with an automated measurement table, smoothing the path for intricate pattern development, expediting size grading, and reducing paper usage.
Unlock your potential by downloading our free e-book on fashion garment creation today, and master the step-by-step process to amplify your production capabilities:
FAQ
Sewing darts are irregular folds on the fabric’s underside, within a narrowing seam that vanishes to eliminate gaps in the piece.
Darts significantly impact a piece’s fit and draping when worn, contributing to its overall elegance and allure.
Darts, within both the pattern design and sewing process, enhance garment conformity to the body’s curves, accentuating the wearer’s biotype.